Badwater 135: Designated Parking Zones on the Father Crowley climb from Mile 72.7 to Mile 84.9
As per new guidelines from the National Park Service:
On the Father Crowley / Panamint Pass climb (a 12.2-mile stretch from Time Station 3 at Panamint Springs Resort at Mile 72.7 to “Panamint Pass” at Mile 84.9), support vehicles may only stop at eight designated locations along the route. These will be identified in the route book and with signage along the roadway. Except in a legitimate emergency situation, stopping at any other location along this stretch of roadway, even momentarily, will result in the immediate disqualification of the racer associated with the stopped crew. In addition to Badwater race staff, this will also be monitored by National Park Service staff who have the authority to disqualify racers. The photos depict the eight designated parking zones.
Furthermore, crew members, other than pacers, may never cross the roadway during the entire Father Crowley / Panamint Pass climb (a 12.2-mile stretch from Time Station 3 at Panamint Springs Resort at Mile 72.7 to “Panamint Pass” at Mile 84.9). Also, each racer, or racer’s pacer, is strongly encouraged to carry a walkie-talkie for communicating with his or her support crew during this 12.2-mile stretch of the race route. In addition to Badwater race staff, this will also be monitored by National Park Service staff who have the authority to disqualify racers.
Because there is limited parking at the designated eight parking zones, and because, of course, support vehicles can make this ascent far faster than runners, support teams are encouraged to remain at Panamint Springs Resort long enough to give their runner a good “head start” while he or she begins the ascent. (This also allows time for the support team to purchase water, ice, food, supplies, gas, and REAL FOOD at Panamint Springs Resort.)
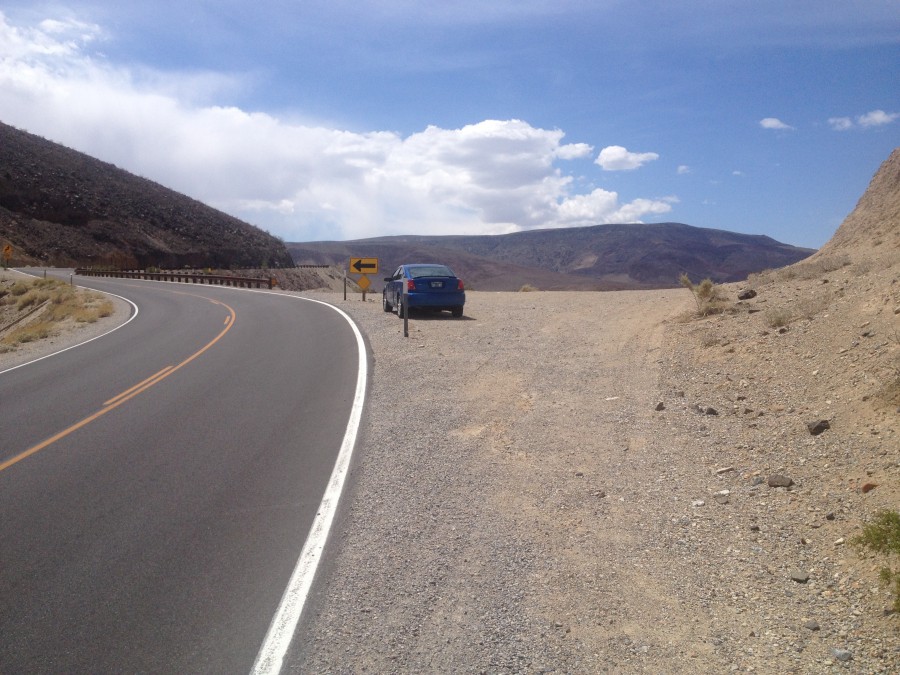
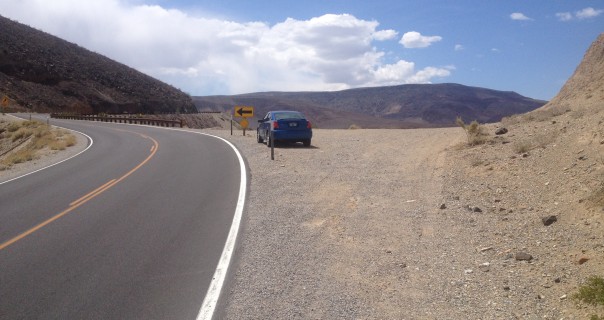
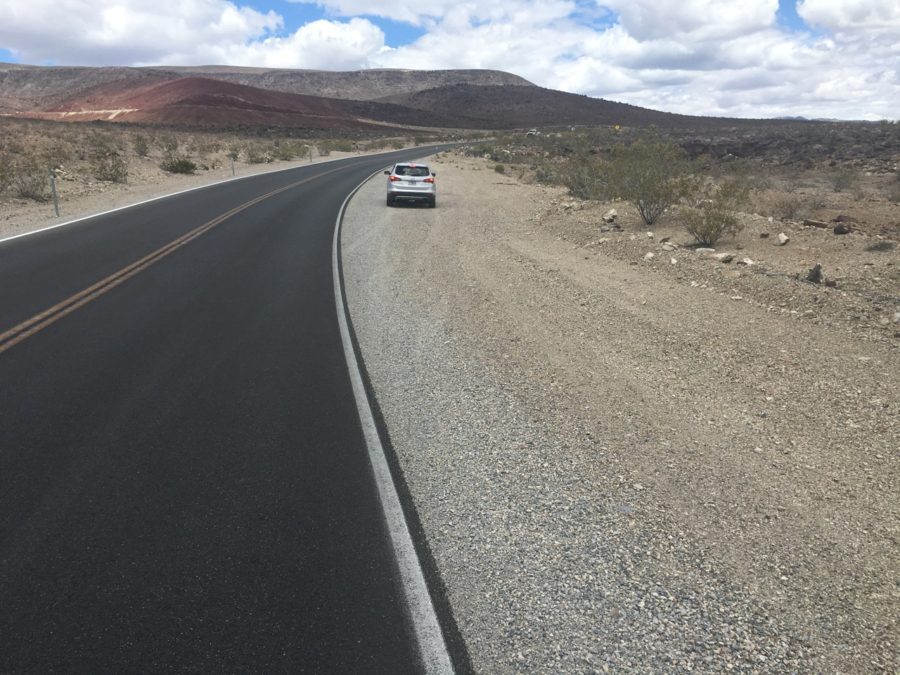
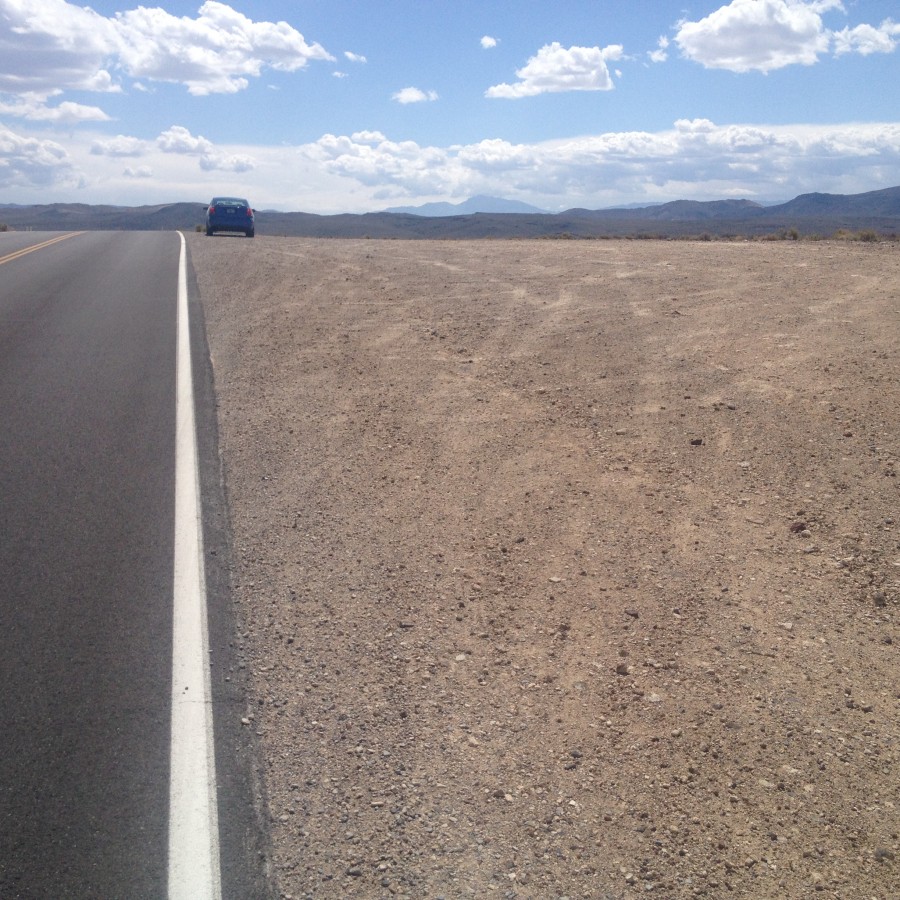
Parking Zone #1: Located at Mile 74.5, or 1.7 miles beyond Panamint Springs Resort. “Parking Allowed on Right in gravel pullout with yellow left arrow.”
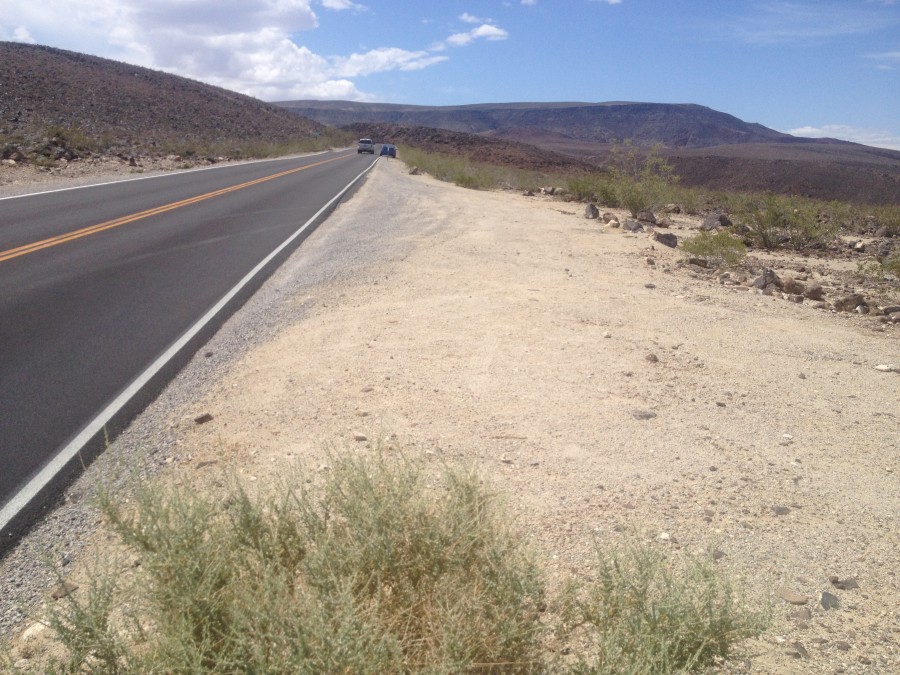
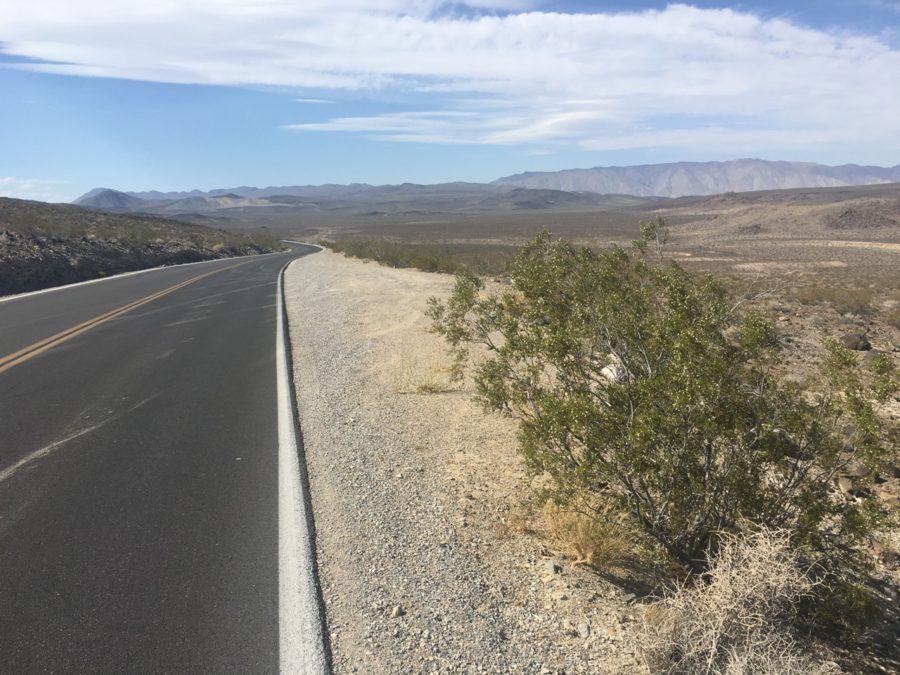
Parking Zone #2: Located at Mile 76.1, or 3.3 miles beyond Panamint Springs Resort. “Parking Allowed on Right in small gravel pullout on right.”
Parking Zone #3: Located at Mile 77.4 to 77.6, or 4.6 miles beyond Panamint Springs Resort. “Parking Allowed on Right in large gravel shoulder on right.”
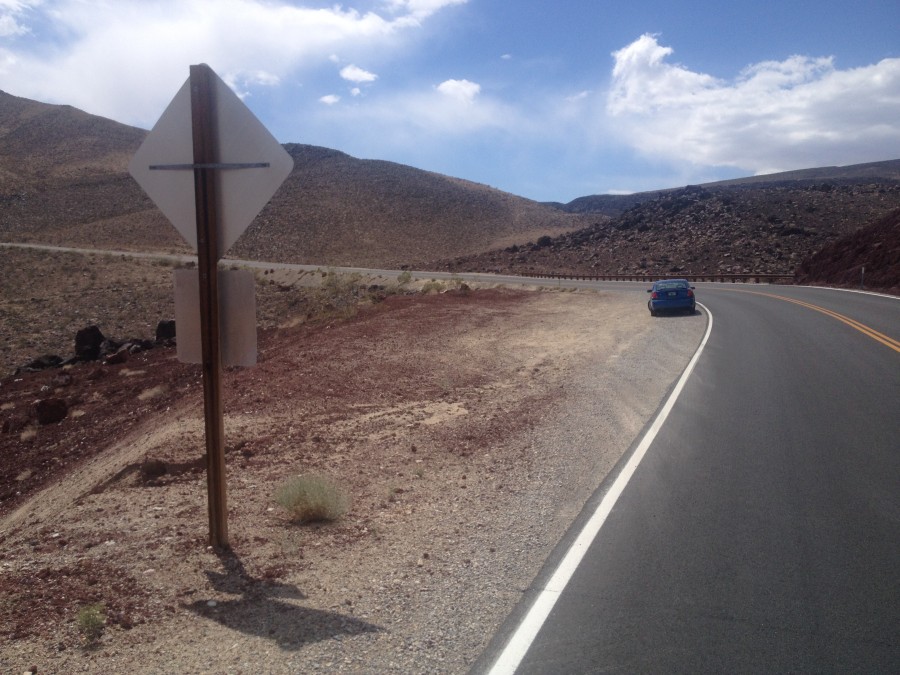
Parking Zone #4: Located at Mile 78.1, or 5.3 miles beyond Panamint Springs Resort. “Parking Allowed in large gravel pullout on left just before sweeping left-hand curve.”
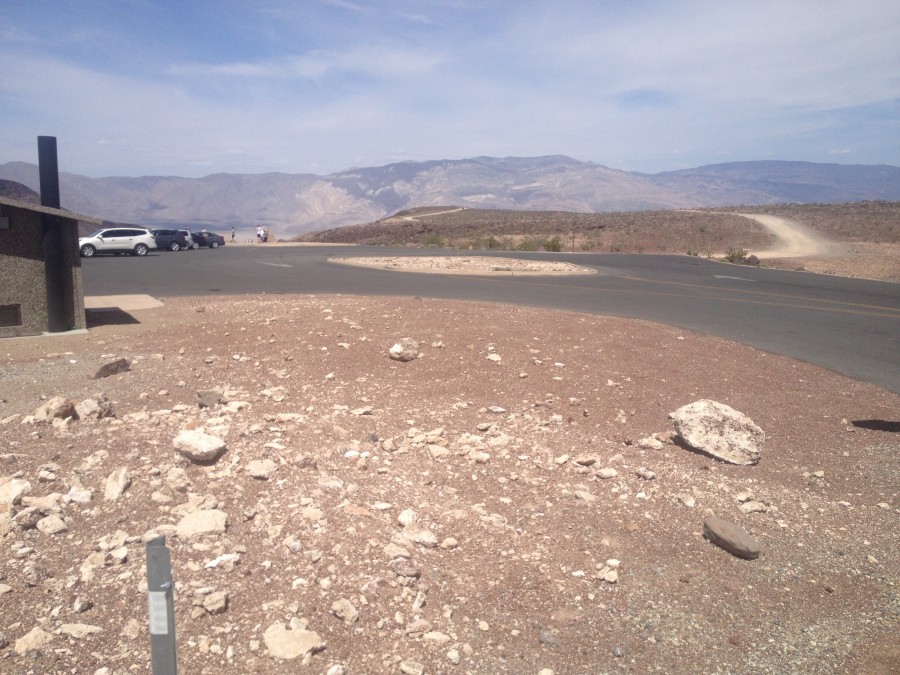
Parking Zone #5: Located at Mile 80.75, or 7.9 miles beyond Panamint Springs Resort. “Parking Allowed in parking lot at Father Crowley’s viewpoint parking lot.” NOTE: Please no sleeping on the ground in parking spaces!

Parking Zone #6: Located at Mile 81.6, or 8.8 miles beyond Panamint Springs Resort. “Parking Allowed in elevated lot accessed via small driveway on right.” NOTE: This is the best place to view the Air Force jets which often “strafe” the runners during the race! (If you pull into the dirt lot and look down, that is “Star Wars Canyon.”
Parking Zone #7: Located at Mile 83.3, or 10.5 miles beyond Panamint Springs Resort. “Parking Allowed in wide gravel pullout on right.”
Parking Zone #8 at “Panamint Pass” (unsigned, but just before a 65 MPH speed limit sign): Located at Mile 84.9, or 12.2 miles beyond Panamint Springs Resort. “Parking Allowed on right in large gravel pullout.” Support vehicles may resume parking wherever it is safe and prudent to do so from here onwards. The Death Valley National Park boundary sign is just a half-mile ahead on the left, while Time Station #4 at the Darwin turnoff is just 5.7 miles ahead.
Additionally, support vehicles may not stop during the one-mile stretch which begins at Harmony Borax Works at Mile 19.1 (just after leaving Furnace Creek), while runners pass through the curvy “Harmony Curves” section of Hwy 190. Each support vehicle should wait at Harmony Borax Works long enough to allow the runner to cover the next, mostly uphill mile, then drive ahead (no stopping nor slowing until Mile 20.1).
For all the race route details, click here.